
We have an embarrassment of riches when it comes to the number of ways we can move data between Macs. You can send files via AirDrop, attach them to an email message, put them in a Messages conversation, turn on and connect via File Sharing, or use Dropbox or Google Drive as an intermediary, to name just a few of the more obvious approaches.
But what if you have a lot of data—say tens or even hundreds of gigabytes—to transfer from one Mac to another? The techniques listed above might work, but we wouldn’t bet on it. If you had an external hard drive with sufficient free space handy, you could copy all the data to it from one Mac and then copy the data back off to another Mac. To cut the copy time in half, though, try Target Disk Mode instead.
What Is Target Disk Mode?
Target Disk Mode is a special boot mode that enables nearly any Mac to behave like an external hard drive for another Mac. You can connect the Macs using Thunderbolt 3, USB-C (on the MacBook), Thunderbolt 2, or FireWire. It’s best to use the same port on both Macs if possible, but it’s usually fine to use adapters, such as Apple’s Thunderbolt 3 to Thunderbolt 2 adapter for connecting newer and older Thunderbolt-capable Macs.
Target Disk Mode is nearly universal, easy to set up, and one of the fastest methods of moving files between Macs. Let’s unpack that statement:
- Nearly universal: Every Mac sold in the last decade supports Target Disk Mode, so you can be sure it will work with any modern Mac.
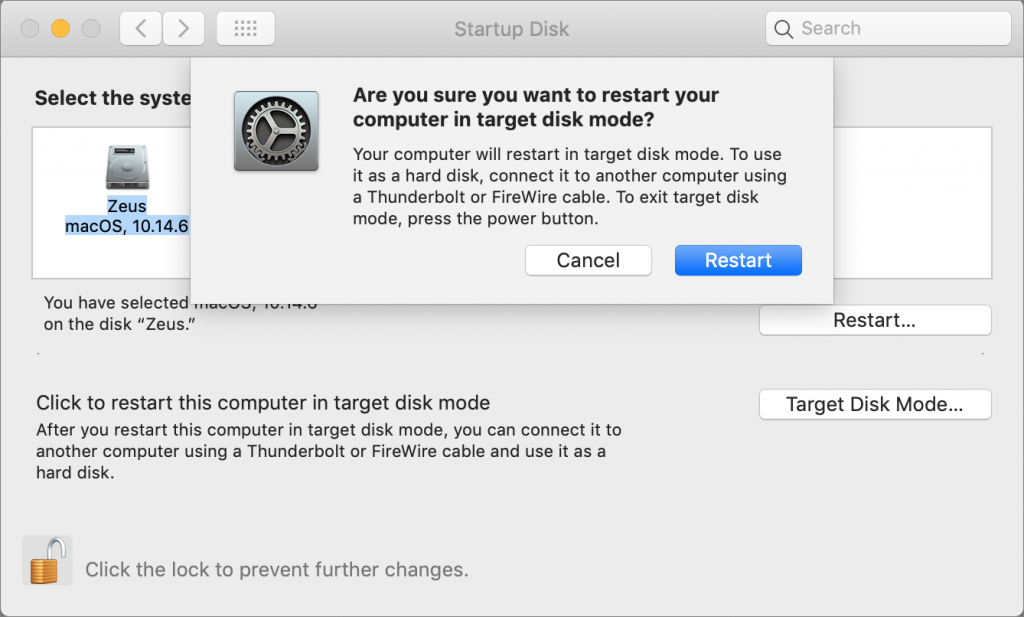
- Easy setup: Because Apple has baked Target Disk Mode into the Mac firmware, the version of macOS is irrelevant. There’s no software to configure nor any permissions to worry about. Putting a Mac into Target Disk Mode merely requires holding down the T key during boot or clicking a button in the Startup Disk preference pane.
- Speed: Because Target Disk Mode on modern Macs relies on a Thunderbolt connection, and you’re connecting one Mac directly to another, you’ll get the fastest transfer speeds in the fewest steps.
You can also use Target Disk Mode on an old Mac to set up a new Mac with Migration Assistant, repair its drive using Disk Utility, or possibly even boot another Mac with it, you can always get help from computer repair ipswich who can assist you with the whole process. Booting one Mac from another in Target Disk Mode works best if the two Macs are of the same model and vintage and are running the same version of macOS, but it might work even if those facts aren’t true.
Step-by-Step Instructions
To use Target Disk Mode to copy data between Macs, follow these steps:
- On the source Mac, either:
- Restart the Mac, and once it starts booting, hold down the T key until you see the Target Disk Mode screen with a bouncing Thunderbolt logo.
- Open System Preferences > Startup Disk, click the lock button and enter your administrator credentials, click Target Disk Mode, and then click Restart.
- Connect the source Mac to the destination Mac with an appropriate cable. The source Mac’s drive appears on the destination Mac’s Desktop like an external hard drive. (If the source Mac is running macOS 10.15 Catalina, two drives will appear on the destination Mac’s Desktop: DriveName and DriveName – Data. The first is Catalina’s system volume; you’ll find all your files and folders on the Data volume.)
- Move or copy files as desired.
- When you’re done, press and hold the power button on the source Mac for a few seconds to shut it down.
If you have hundreds of gigabytes to transfer and either of your Macs is a notebook, it’s best to connect it to power to avoid draining the battery before the copy finishes.
Minor Gotchas
Two things can complicate putting a Mac into Target Disk Mode: FileVault and a firmware password. Both are easily worked around:
- If the Mac is encrypted with FileVault, hold down the T key at startup like normal, but then enter the administrator password for that Mac to complete the switch to Target Disk Mode.
- If the Mac has a firmware password, press the Option key while the Mac is starting up and enter the firmware password when prompted. Then press the T key to continue booting in Target Disk Mode.
Also, the Apple USB-C Charge Cable that comes with the power adapter for the MacBook, MacBook Air, and MacBook Pro models doesn’t support Target Disk Mode, so if that’s the cable you were planning to use, sorry, but you’ll need to buy a real Thunderbolt or USB-C cable.
Despite these small caveats, Target Disk Mode is one of the unsung innovations that has made Macs easier to use for decades, and it’s well worth keeping in mind whenever you need to move lots of data between machines.
(Featured image by Adam Engst)